Have you ever wondered how to make wooden food photography backdrops on a budget? Here is how and it does not take more than couple of minutes of work plus couple of hours for the paint to dry. Just a bit of acrylic paint and piece of sandpaper will turn any wooden board or plywood into interesting background within less than a day. And even better you can save some space and paint the same board again, on another side for second colour.
Wooden backgrounds are great for many reasons: they are adding texture to the pictures, reduce time spend on retouching as any imperfections just add extra charm here, they are not expensive (wooden boards like this are often discarded by builders and acrylic paint can be found for £1 – £2 per tube).
Caribbean blue background: white, pale blue and teal paint
MATERIALS
- piece of wood or plywood (the one I used is 61 cm x 61cm / 2ft x 2ft)
- acrylic paint
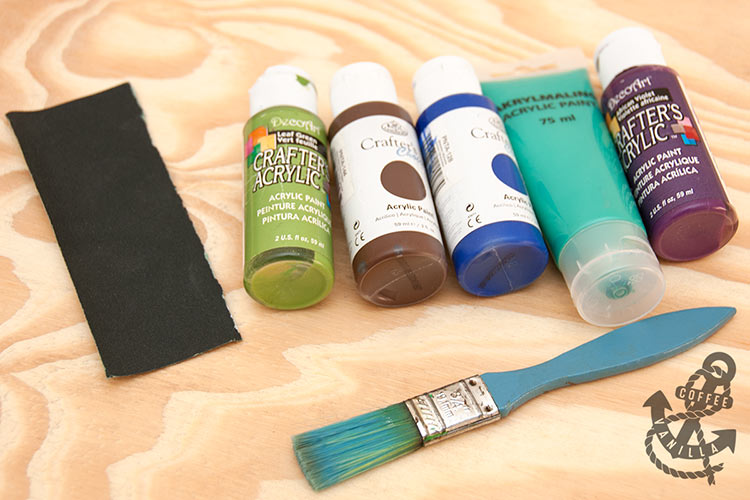
all you need to make your own distressed wood background
EQUIPMENT
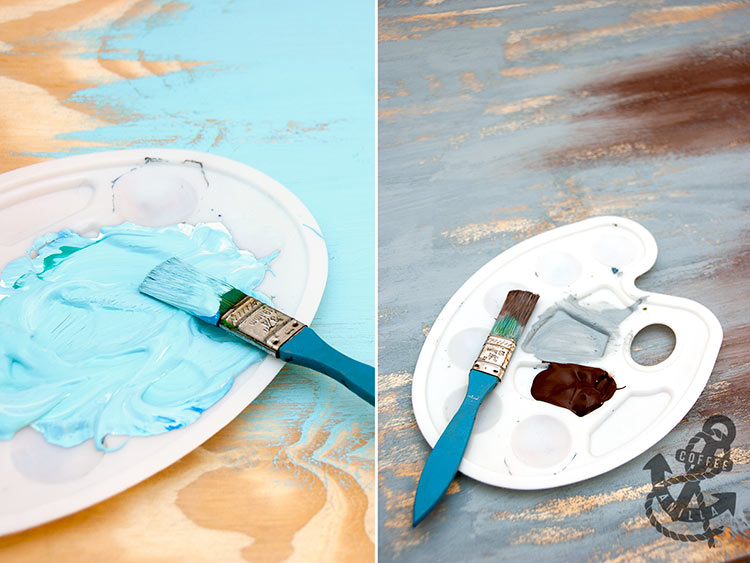
METHOD
- Sand the wood a bit first to remove any splinters and very rough surfaces.
- Depending on what you want to achieve use one colour, mix colours for desired shade or paint with patches of different colours.
- Let paint dry for about 2 – 3 hours and then sand again to give background distressed look.
- Add more paint, sand again, repeat for as many times as you want until you are happy with the look of your background.
- Optionally use another side of the board to create second background colour.
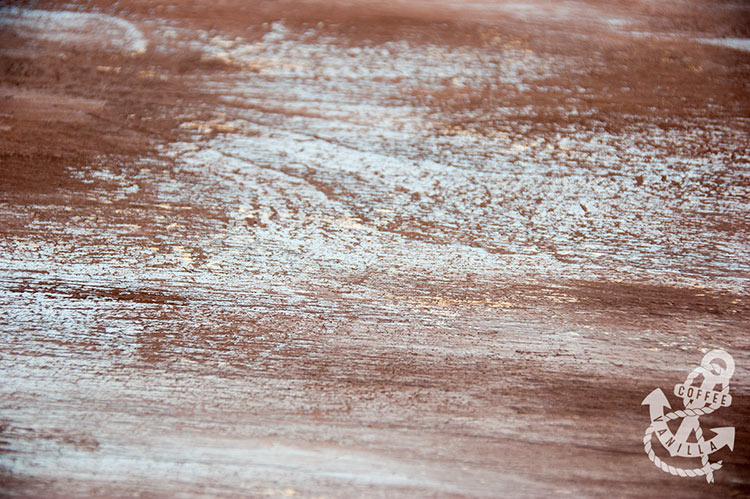
brown background: burnt umber (brown) and wedgewood blue (grey really)
NOTES
Allow paint to dry between colours if you don’t want them to mix.
For the Caribbean blue background I have mixed all the colours in advance and painted the whole board with it, then sanded a bit.
For the brown background I painted it first with strokes of wedgewood grey, allowed it to dry, then filled unpainted parts with brown, allowed it to dry a bit and painted some more with grey. Then, once it was completely dry, sanded to make the background look even more weathered.
Dry brush with only a bit of paint ads extra texture to the strokes.
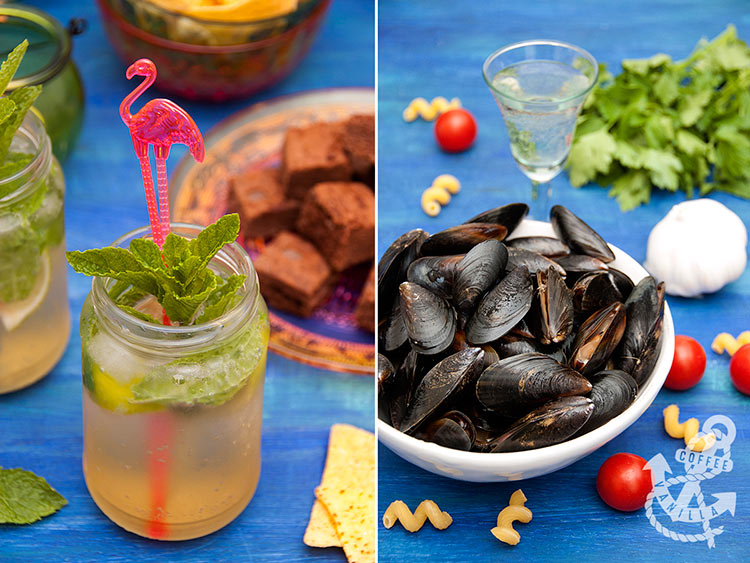
dark blue background: ultramarine (dark blue) and strokes of teal, African violet (purple) and leaf green – pictured: spiced mojito / pasta with mussels
Ages ago I painted chunky piece of solid wood I had with blue and white on opposite sides. I really liked how the colours and texture were coming out on the pictures and therefore I’ve been using them all the time so it was high time to change something… by making more colours.
I could of course repaint them but I got new piece of wood instead as the old blue background (above) is still one of my favourites. Also the off white background (below) still comes very handy almost on daily basis.
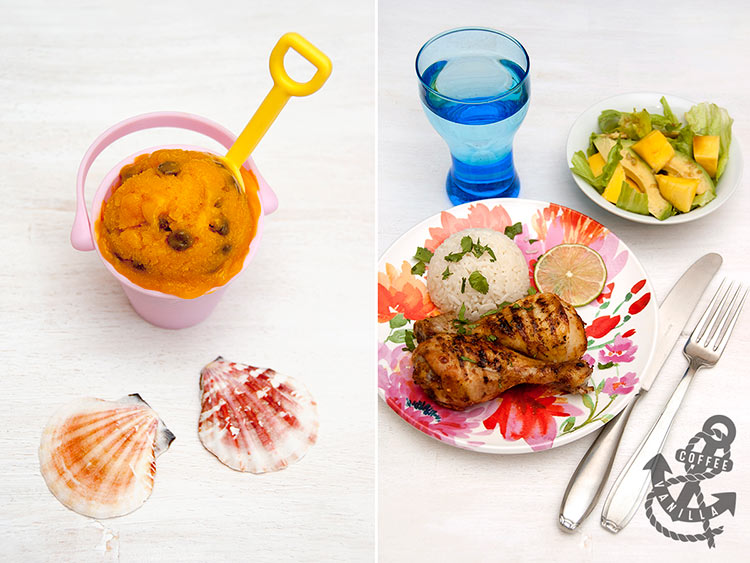
off white background: titanium white only and sanded it a lot afterwards – pictured: mango & chocolate sorbet / Brazilian mango & avocado salad
NOTES
More food photography background ideas.
