MATERIALS
- yarn
EQUIPMENT
- crochet hook (I used 3.00 mm one)
METHOD
stitches used: chain (ch), double crochet (dc), slip stitch (sl)
FOUNDATION CHAIN
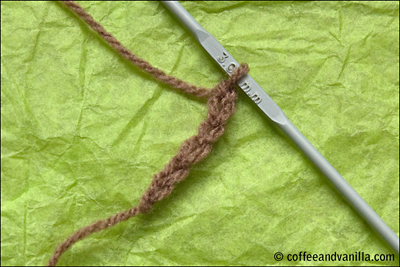
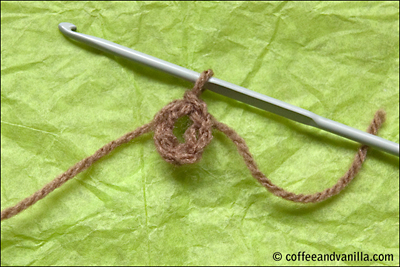
Start with 7 ch, connect ends of the chain with sl to create a circle.
ROUND 1 (FOUNDATION ROUND)
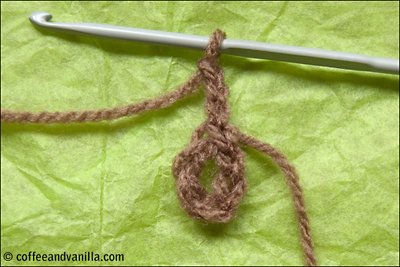
Work 3 ch as 1 dc and then work 2 more dc into the ring to create 3 double crochet stitches.
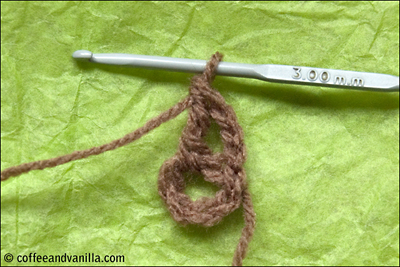
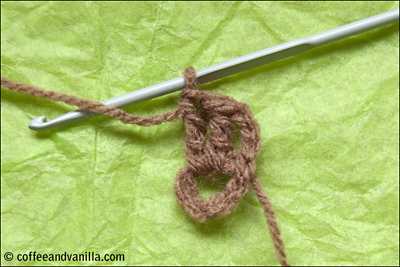
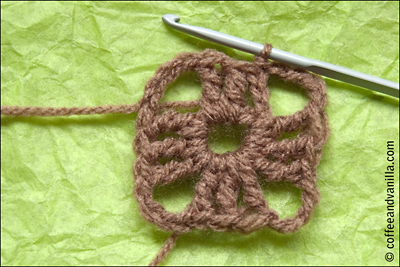
Work 4 ch skipping the foundation, it will create the drop shaped corner.
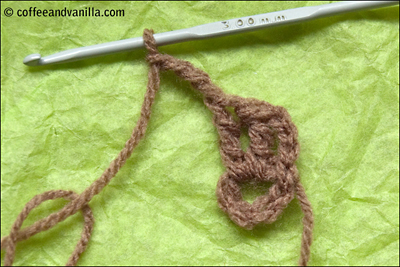
Work again 3 dc into the foundation ring.
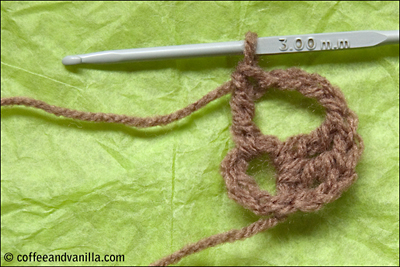
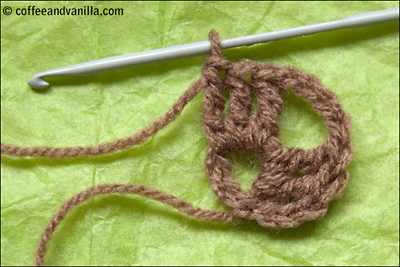
And again work 4 ch skipping the foundation to create second corner.
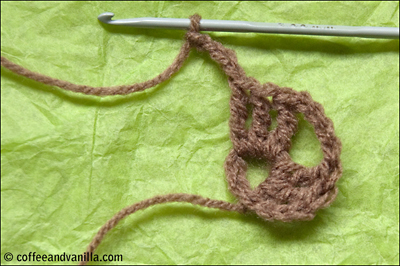
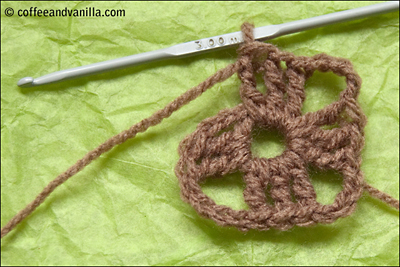
Once you have 4 sets of 3 dc create last corner with 4 ch.
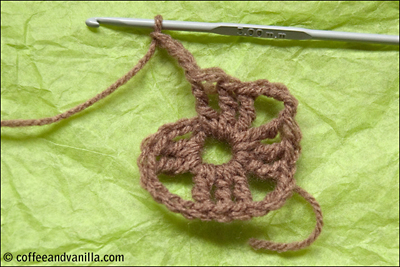
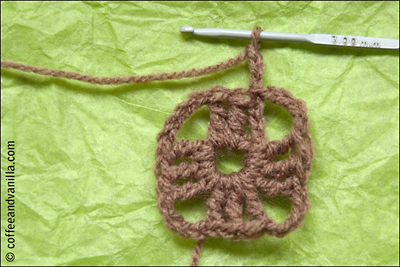
Connect into the third chain of the first stitch with sl to close the round.
ROUND 2+
To start the new round work again 3 ch as 1 dc and then continue with dc into each chain of the foundation until you have reached second chain from four chains of the corner.
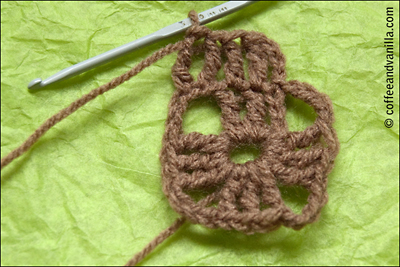
Now work again 4 ch skipping the foundation to create the drop shaped corner.
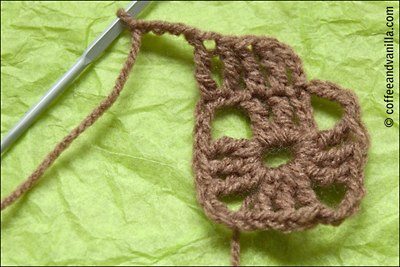
Continue with the dc into each chain of the foundation until you reach again second chain of the corner.
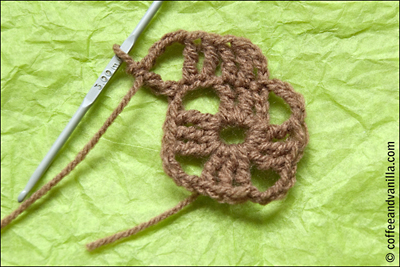
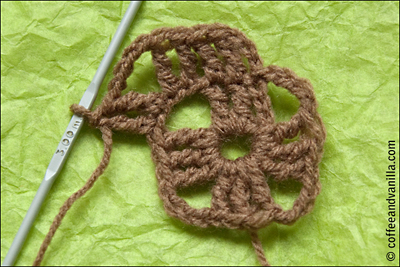
Work 4 ch skipping the foundation and continue with dc until you reach second chain of next corner.
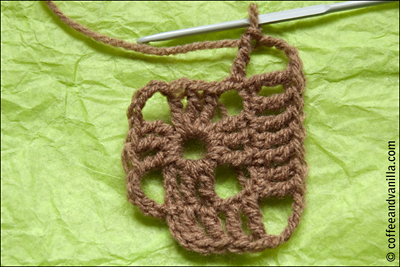
Once the round is finished close it with the slip stitch. To start next round work again 3 ch as first dc. Continue with double crochet stitches and chains in the corners until the end of the round.
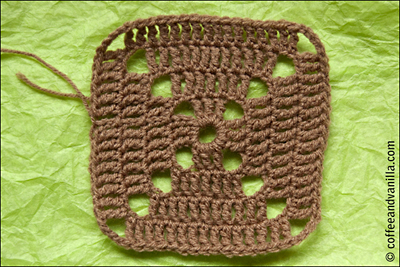
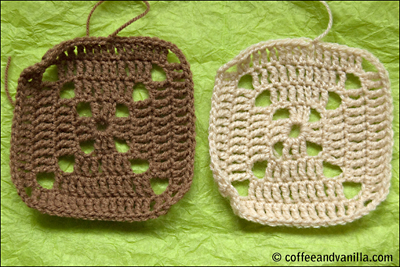
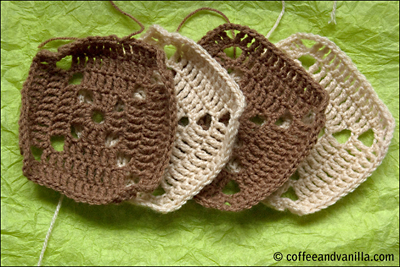
Make as many rounds as you need to achieve required size of the square. I made each of mine about 12 cm wide and I will sew them later into cushion cover… pictures shortly. I made also pyjamas case using this pattern.
NOTES
Optionally change yarn colour when starting a new round. Finish one round with the slip stitch and cut the yarn leaving only a little bit extra. Start the new colour with 3 chain instead of dc as usual, then tie on the back end of old and beginning of new yarn. You can also start the chain with new colour without cutting the previous yarn, just leave it until you will need to use it again. Just make sure not to tangle up the threads while you making the rounds.
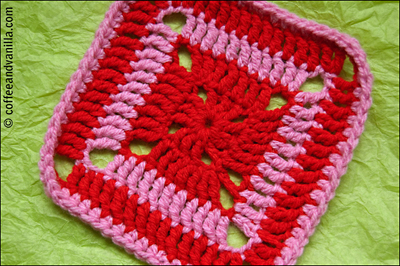
You can also finish the square with a round of sc (single crochet) and create the coaster as I did with the one below, using quite thick yarn and 5.00 mm crochet. I made some mistakes in the first rounds, but I’m still proud of it as it was the very first granny square in my life! :)
Thanks for the lesson, I’m a beginner and I need to learn how to make squares so your article has been very helpful.
I thought that if you sew crochet squares together you can make so many different things without being highly skilled in the art and crochet is a great way to kill a spare half in in the day and you get something beautifully creative to give as a gift.
You should connect with http://pimposhka.blogspot.com/ ;) x
I’m very impressed with your granny squares, very neat and tidy. As a beginner I do find it can sometimes be rather tricky. Still I’ve managed to crochet a heart and a basic flower :)